Pages

Showing posts with label seahorse. Show all posts

Friday, June 6, 2014

Made it (Sort of...)


I made the deadline for the "Summer ARTiculated" show at the OSilas Galllery at Concordia College, although not with a new piece.  Even though I wanted to create something new, I found myself unable to push myself and went with "Mother Nature's Summer Tunic," from last year's FANE kimono challenge, and the "Sea Horse Trio," the totem from the challenge in 2012.  Here are the photos I submitted:


I'm glad that at least I made the effort to submit; As Wayne Gretsky once said, "You always miss 100% of the shots you don't take."

Friday, June 21, 2013

Celebrating Summer


The first day of summer!  It's always been one of my favorite days of the year.  It's such a great feeling to open your eyes on that morning, take a deep breath, and savor the anticipation of long sunny days ahead, without alarm clocks, school buses, homework, or tests until September!  My youngest got off the bus with a big grin on her face yesterday.  The other two finished their tests earlier in the week so we've been hosting sleepovers and hot-tub parties, and making numerous trips to the movie theater and back again.  They have a few weeks of unstructured fun time before camp (and my summer library programs) start up again on July 8th.

We've had perfect weather here all week with bright clear blue skies, lots of puffy clouds floating through on the breeze, and cool comfortable evenings and nights.

Our yard is showing off all it's summer colors, from our very vigorous climbing rose (don't you just love a climbing red rose on a white fence?)...


...the the wild daisies which have sprung up here and there in the yard, and the small sweet strawberries ripening near the front lawn.

Yesterday I finally dug our little froggy birdbath fountain out of the shed and put him in his spot on the lawn (he cleverly covers the well pipe that sticks up there!).  He makes me smile every time I see him!

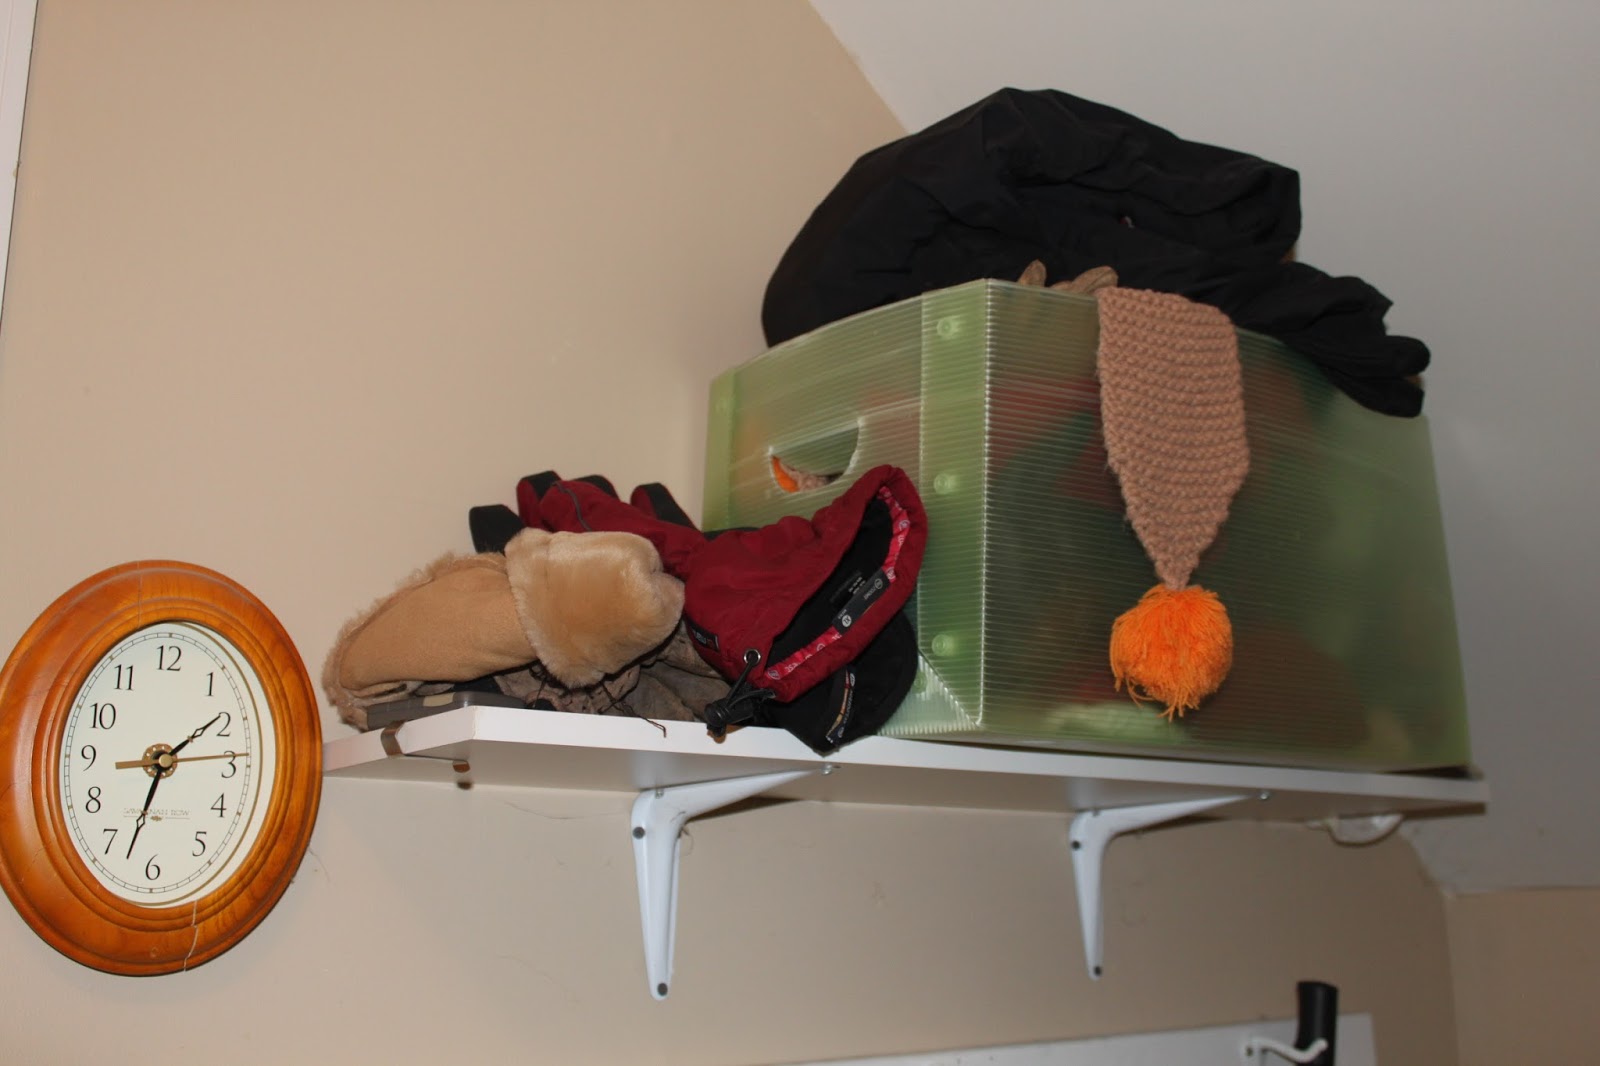
Other signs that summer is here: this box of winter hats and gloves has been stashed appropriately in the closet...

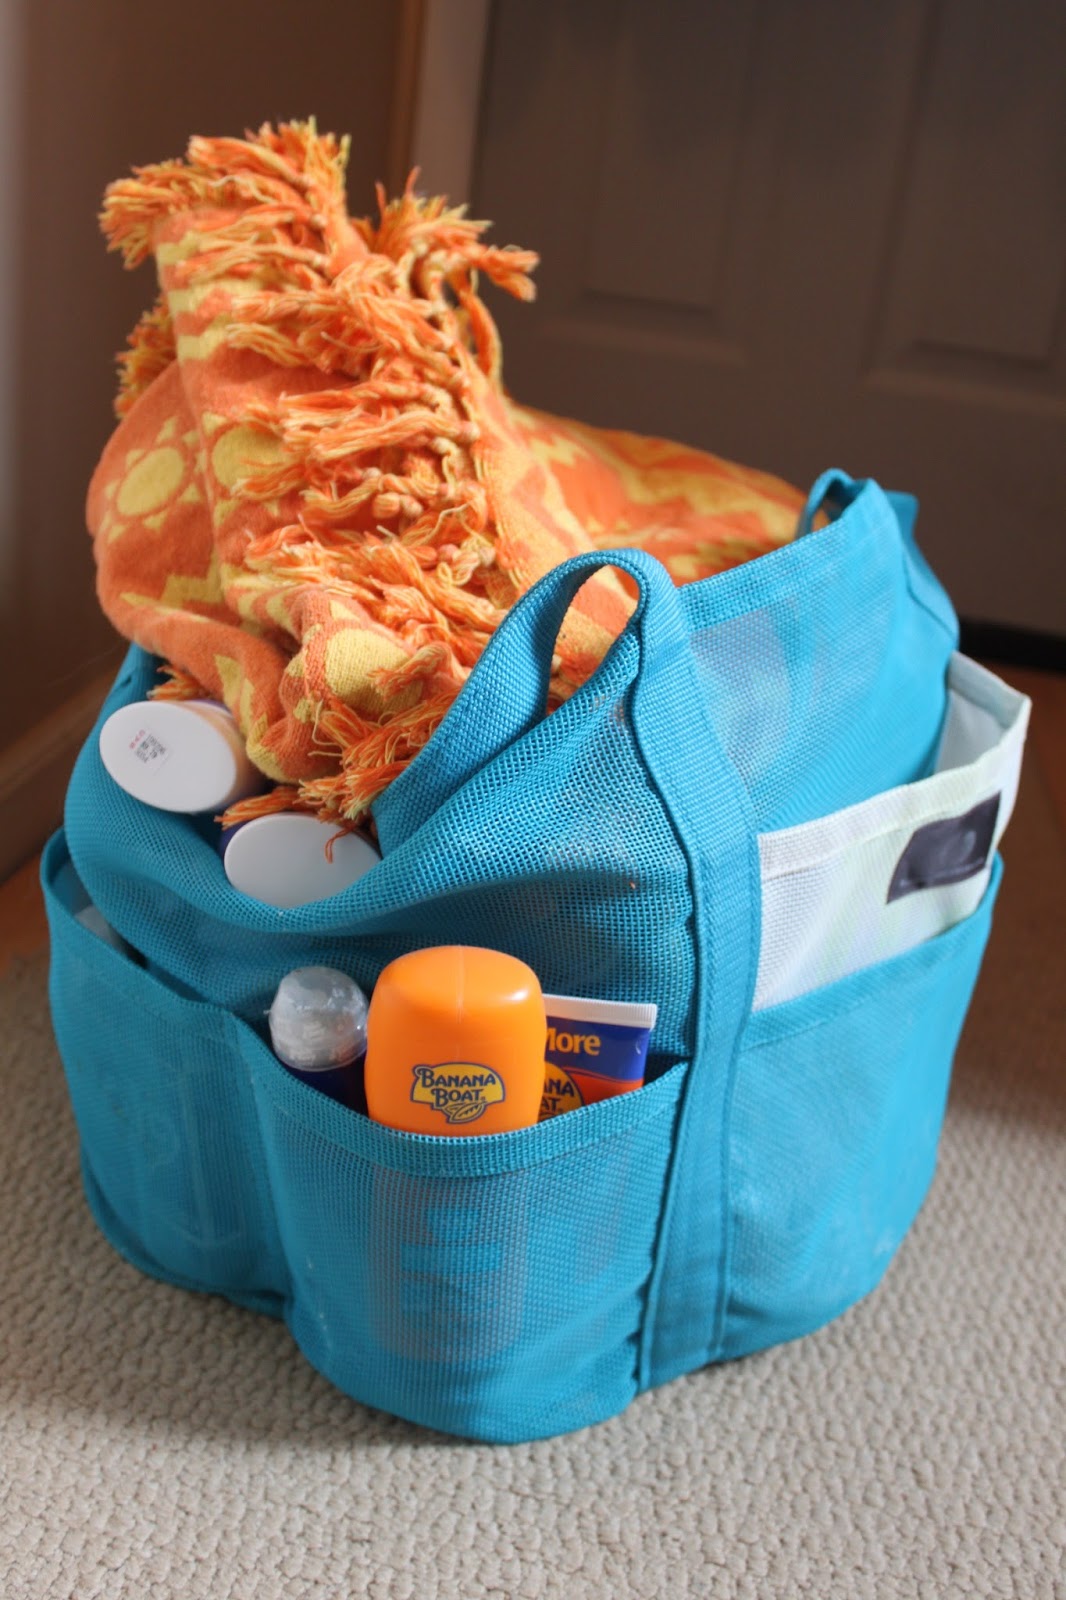
...and our favorite roomy beach carryall has taken it's place!  I try to keep it packed with towels, a beach blanket, and sunscreen so it's ready at a moment's notice.

I'm still working away at the new garden below in our yard, slowly carving up the space into planting beds which will be separated by a pebbled path and maybe some stepping stones.  I hope to get down there tomorrow to finish the path and maybe we can get some pebbles to fill it next week.  I also have a big "focal point" in the works, but I'll save that for another post.  I'm really excited about it and hope it all comes together as I've imagined!

For now, I'm going to take a little breather, have some lunch on the back deck, maybe chill out in the shade with a good book and a glass of lemonade, and listen to the gentle sound of my latest deck-oration:

- this charming seahorse fountain my husband found at the home improvement store.  Isn't he cute?  He'd be great in the new garden, but he's electric and there's no outlet that far away from the house.  I wonder if there are solar powered outlets (and whether we get enough sun down there to power one)?  Anyway, he partially hides the wiring for the hot tub and brings a little whimsy to the deck!

Happy first day of summer!

Thursday, May 31, 2012

Artfully Drifting...


Look at all the lovely charms I received in the mail this week!  These are from the "feather your nest" swap and each one is a treasure!  It's obvious how much time and care went into the making of them. (Click on the picture to see a close-up view).  It's a nice coincidence that so many people used similar shades of blue, because a bracelet will look so much more cohesive.  I may combine them with the charms I received in the Spring swap; they'd probably look great together.

Meanwhile I've been kind of drifting a little aimlessly lately, when it comes to art.  I've been playing around with various materials and ideas and trying to complete something - anything!  I pulled out an aqua bracelet that I put together late last summer and decided to vamp it up a bit with some crystals and glass beads I picked up recently.  I also added some copper charms - the seahorse on the right and the sun which is slighltly right of the center.  It looks fuller and richer, but not so crazy overdone that you can't see individual charms.  I'll be adding it to my Etsy shop soon.

It occurred to me recently that one of the reasons I like playing with these charms so much and combining them into a piece of jewelry, is that it's so similar to a collage.  There are lots of elements made with a variety of materials and each one is a clue about a theme or about something the artist might be trying to say.  In this case, the colors, shapes, and materials all relate to the sea.  In addition to the seahorse, there are seashells, a glass fish, pearls, and round glass beads resembling bubbles.  It would make a great beach vacation souvinir!
 The next swap charms I have to work on are for a blue & green color swap with copper findings.  I came up with these three samples, below.  The first is a polymer clay flower strung with an acrylic leaf and glass bugle bead for a stem.  I may add a little copper bee charm to that, if I can find them (or maybe I'll make them out of shrink film?).  The one in the center is actually a piece of 5/8 inch tubing cut to just under an inch long.  I put some green yarn and blue metallic fabric inside, along with a tiny cutout of a seahorse.  Can you see it?  I'm not sure if I'll send those for the swap - they're slightly longer than 1 1/2" with the end caps and beads, which is the size limit.  Maybe I'll add them to some of my own creations, and make some with shorter tubes to meet the size requirement for the swap.   Finally, I made some quick dangles with some other blue and green beads I picked up.
When these are done, I may need to take some time to reorganize my creative space downstairs.  Right now, it works for me pretty well - I can find what I need and have room for just about everything - but the open shelves I have make everything look so messy!  I'm thinking of moving my fabric stash into white cardboard storage boxes and putting them in the open cubbies and moving the jewelry and other craft items to where I currently have my fabric (if I get braver in the future, maybe I'll post before and after pix!).  I'm hoping it will make the room look neater without making it any more difficult to find things and put them back in the right spot.  If I can reorganize my space and getting it looking more inviting, maybe I'll be able to reevaluate my goals for the year and figure out what I want to start on next.  It's hard to believe the year is already almost half over!

.

Tuesday, February 21, 2012

First Steps

Here are a few pics of the first steps of my next project, which is an 8ft long by 18" wide "totem" piece for the FiberArts group I belong to. Of course, I chose an underwater theme and just finished my first element in the piece, this seahorse. He's much larger than the ones I usually make at 18" tall, and it was nice to work on something big for a change. I used burlap again, but this time I painted it and then printed on it with various things to get some additional texture.
Here is the painted burlap for the next seahorse in the piece (there will be three altogether). I used that cardboard to make the prints you see, and then splattered on some bright orange. The bubble wrap and styrofoam tray were used on the seahorse above.
Here are some other fabrics I plan on using in the piece. It's due by April 5th, so I have a little over a month. Hope I can pull it off! I've never made something this long before.
While I'm making good progress there, I also could not completely stop with the charm making! I had this idea for a charm that looked like a bird's nest with eggs in it. I can't remember where I saw something like that, but I searched the internet for tutorials and found one here. After watching it (it's really pretty simple), I made the one below. Isn't it cute? It probably took less than 15 minutes to make. That's why the charms can be so much fun and so satisfying! By the way, is it too soon to start thinking about spring?

Friday, October 7, 2011

Open for Business!


Announcing the grand opening of my very own ETSY shop! Above is the banner I created this week using the free program called "gimp." Do you recognize the background? It's a section of my "Waterfall" piece that was in the show last month. I've been ruminating on my "brand" - colors, font, the general image I want to project. I think I've captured it, between the flowing and sparkling fabric "water," to the coppery lettering.

And below is my new mascot! I've made several versions of him, but I definitely like this one the best. I sponged copper acrylic paint on the wrong side of a commercial print fabric, then fused it to a pale green felt. This prevented a lot of fraying that I get with just the fabric alone. The real coup was his spine ridges. In the past, I've tried to cut them out by hand with a scissors, but I always wanted to try to incorporate rick-rack somehow. I have yards of a very small pale green rick-rack that I painted with the same acrylic paint and stitched along his back. I think it's a vast improvement. I also managed to get a bit of an expression on his face. What do you think? Isn't he cute? I'm using him as my "avatar" instead of a picture of myself. I think it says more about me and my art than my own face would.

I also decided to take a leap of faith and donate 5% of any profits to a non-profit research foundation called "Project Seahorse." The worldwide seahorse population has been dwindling rapidly over the last few decades and Dr. Amanda Vincent founded the organization to study seahorses and work with fisherman around the globe to prevent any further damage to their populations and ecosystem. I just love seahorses; maybe it's because they almost seem like something imaginary, like unicorns, only they're real. They're just so darned cute and interesting to watch!

So anyway, hop on over to my new ETSY shop (I'll have to add a link on my blog somewhere soon) and tell your friends about it too! Every purchase helps save the seahorse!


Sunday, August 14, 2011

A New Twist on an Old Favorite

Last week I tried something I've been wanting to try for a long time: shaving cream marbling on fabric. I've been thinking about how I can get a nice gentle swirled affect with a variety of shades of blue without dyeing (I'm just not up to tackling the complexities of dyeing my own fabrics, but I am willing to paint and try other surface design techniques). I saw a quick demo of shaving cream marbling on paper and I've heard about other fabric artists who've tried it with cloth, so I thought I'd give it a shot.

What you do is take shaving cream and spread it onto a washable surface (I used a large piece of plexiglass). Then stir in drops or streaks of various paints until the shaving cream looks marbled. Then all you do is lay a piece of prewashed fabric (or paper) over the shaving cream and the swirls of paint will transfer to the fabric. I would've taken shots of myself doing this, but it's amazing how quickly that shaving cream got everywhere so I didn't dare pick up the camera! But above are the peices of fabric I marbled laid out on my outdoor table to dry. Below is a close-up of one piece. Not bad for my first try!

I decided I might as well dive right in and see how it looks as a watery background. I decided to do another one of my favorite little seahorses. I keep doing this over and over again because although I feel like I'm getting closer to the look I want, I still haven't achieved it yet. For this guy, I stitched wavy strips of the sheer aqua fabrics I've been working with onto the marbled fabric, then added the "sand" fabric below, and the seaweed and seahorse. I used copper accents this time, painted on the seaweed and on the seahorse before I cut and stitched him. I also used copper metallic thread.


Here are two close-up shots:


Once again, I think it's closer to the look I'm shooting for, but I don't think this is the "eureka" yet. I want it to really be amazing, I want viewers to feel like he's so life-like and likeable that they just want to hug him. I want them to be able to smell the salt water and feel the cool wetness of it. I want them to feel like it's magical! I don't know if it's there yet...

Sunday, January 30, 2011

Something besides snow!


It's hard to believe tomorrow is the last day of January! Where has the month gone? I have to admit, I started out like gangbusters on my goals for the year, except for the one I'm supposed to do weekly - the 8x10s I said I'd do like a sketchbook. Above is really the first new one I completed, and I just did that today! Actually, I did it in three parts over the last few weeks: first, painting the white canvas with acrylic paints and inks, then adding the free-motion stitching with metallic threads, then adding in the sand, seaweed, and seahorse. Maybe step one was a sketch all by itself... And, of course, I made several of the rejected snowflake pieces, if they count (I think I may actually have to do it one more time!). Anyway, I got tired of snowflakes (see the last post), both real and stitched, so this was a nice break from all that white and blue. One new technique I came up with: the seahorse is a separate quilted piece with a back and everything, sort of like a little flat stuffed animal. He's only stitched on in a few spots. I was hoping this might give him a more three-dimensional look, but I'm not sure if you can tell from the photo. It looks much better in person. I wish I could capture that dimension with the camera! Since I'm so drawn to the seahorse and have made so many of them, I thought I'd play around with the possibility of him being a little logo or mascot to put on business cards etc. I'm not sure if he's "the one," but he's the closest I've come so far. If nothing else, at least I'm seeing improvement!

Sunday, January 2, 2011

Happy New Year!

Happy New Year, everyone! I hope you looked back over 2010 with some satisfaction and are beginning to think of goals and aspirations for the 2011. I know I am! And hence the new book in my home library: The Creativity Book: A years worth of inspiration and guidance by Eric Maisel, PhD. I started buying myself books on creativity about 5 years ago when I got The Artist's Way by Julia Cameron and put myself through her whole program. This book is divided into twelve sections, with 8 or so activities per section, so about 2 per week. They are not all your typical artist type of activities; some of them are "forgive yourself for all your failures," "forgive yourself, period," and "forgive others too." Should be interesting. I hope I can sustain it for the whole year.

Meanwhile, I finally had some time to sit down and play with some design possibilities for my sketchbook cover, which has been haunting me (only 2 more weeks!). I really had no idea, no preconceived vision of what I wanted it to look like, so I just went through my stash and pulled out things I like. I started with the plain natural fabric in the foreground and thought I would use that as the base fabric. Then I decided I wanted something with more color and pizzazz. I played around with some prints and batiks and then found my old favorite burlap ( I know, you're probably thinking "why does she like burlap so much?" I don't know - I think it's the texture and it reminds me of very simple times when farming and gardening and homemade clothes were the norm). I made the title (Fabrications) by couching perl cotton onto another fabric with metallic ribbon for the first letter. I stamped some other words and did a little seahorse thread sketch which I colored in with the Inktense pencils. It looked ok, but it seemed too stiff and predictable.


After a lot of trial and error and playing around, here is the final design I came up with. I ended up keeping my favorite robin's egg blue burlap as the base fabric. I decided I wanted it to show, but that it needed something. I stamped a large design onto it using a foam stamp and turquoise metallic acrylic paint. Then I free-motion stitched around the design with copper metallic thread and touched it up with copper acrylic paint, so it almost resembles embossed copper tiles with a patina. I created another seahorse separately on a piece of silk mounted on a piece of printed cotton, using variegated metallic thread. It took me a long time to decide how to add the words: I finally scrapped the previous couched and stamped words and just hand-wrote them with metallic fabric markers on sheer ribbons, then stitched the ribbons into place. It didn't photograph well, but the words say "Fabrications: Fiber art and poetry thru the year by Cindy Green." I'm happy with it, I think it will hold up well to many hands touching it, and I think it is represents me and my style pretty well. Now I just have to finish by stitching it to the original sketchbook cover.

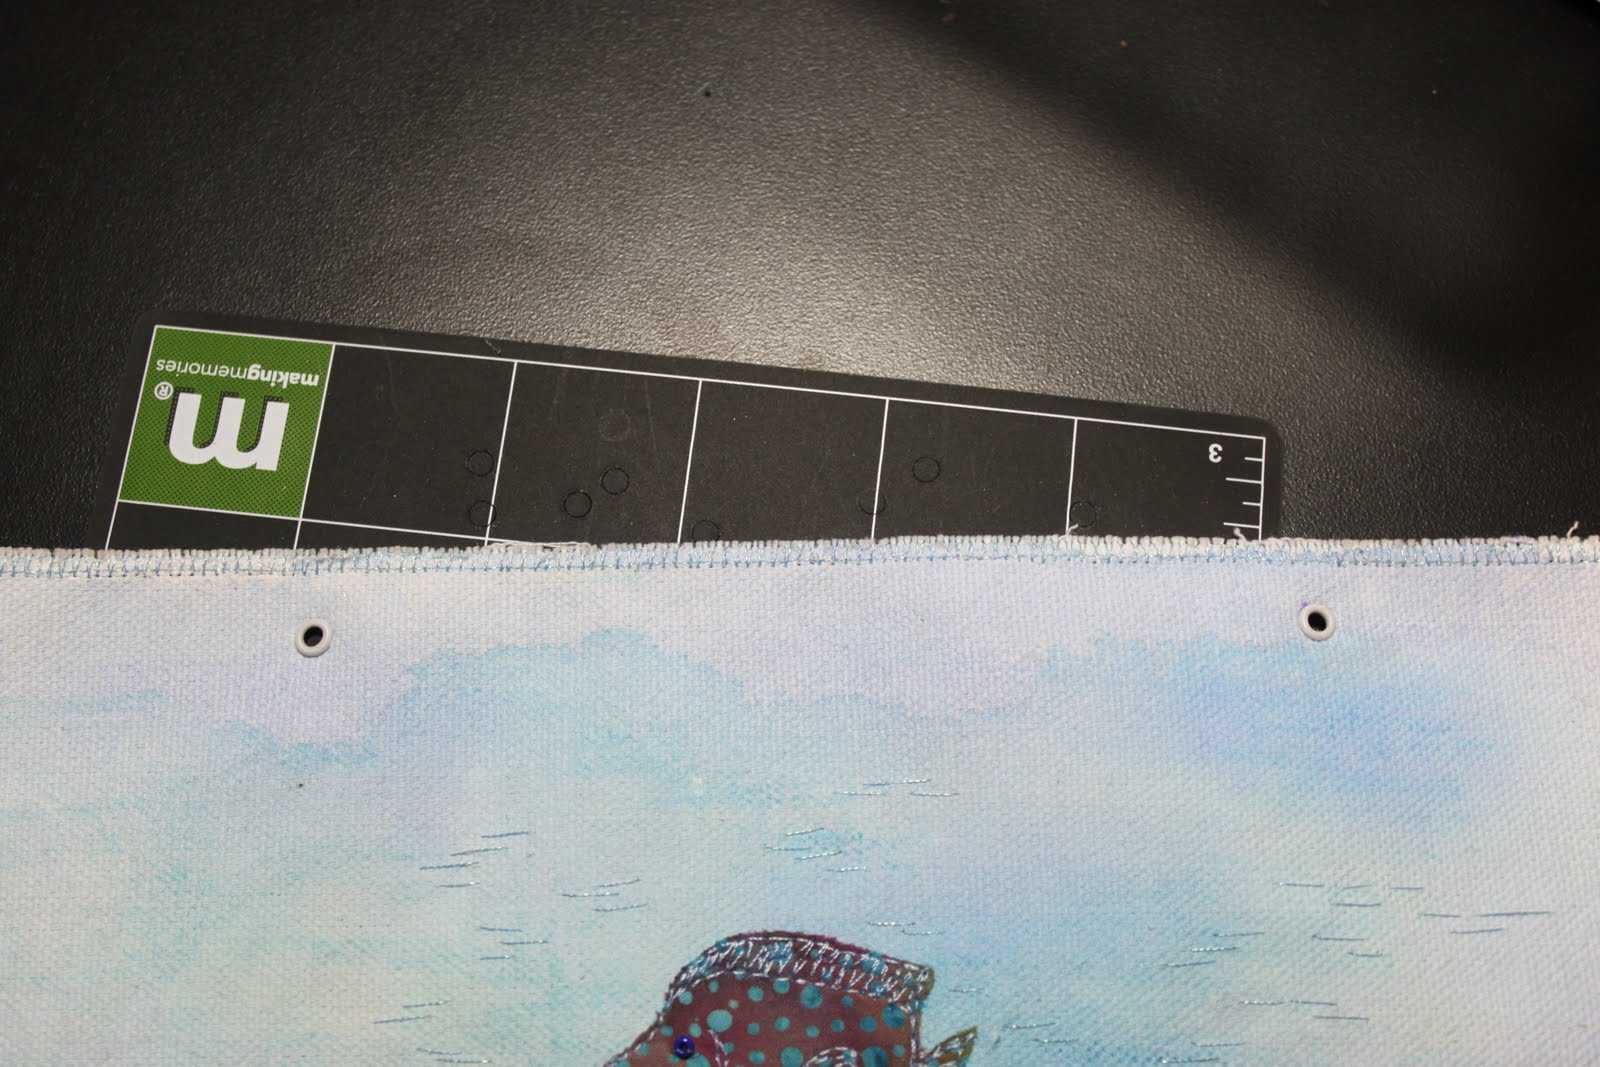
Another step I made towards getting the sketchbook bound and mailed out was putting all the grommets into the fabric pages. A while back I had picked up this grommet kit from the local craft store (I think it sells for about $20 - bring your 40% off coupon!). The most surprising thing about it to me is that IT WORKS! It's actually worth the money! It comes with the main handle component and those interchangeable tips for either punching a hole or flattening the grommet. I think it's intended for paper crafts and scrapbooking, but it did a fantastic job going through the fabrics, some of which were several layers thick. I also used it this fall to put grommets in the tops of the bookmarks I made, to hold the tassel.


To insert a grommet, first I measured and marked where I wanted it to go. Then, using the black tip, I positioned the punch over the spot and pressed down with the heel of my hand. The handle compresses and then kind of jumps, like it's spring loaded.


Here are two perfectly cut holes where the grommets will go.
Next, I changed to the other tip. I inserted the grommet into the hole from the front to the back, then turned the piece over. Press the end of the tip over the grommet and press down again with the heel of the hand. The spring-loaded action flattens out the back of the grommet, neat and clean!
Here are my two grommets, looking neat and professional! It's nice to have a tool that actually works and does what it claims to do! Now I just have to finish up the stitching on the cover, make one more sketch, and put it all together! Can't wait!

Sunday, July 18, 2010

Another one finished!


Here is another piece that's been laying around on my worktable waiting for closure! Two of my biggest flaws are indecisiveness and perfectionism - not conducive to getting projects finished quickly! Usually, as in this case, I get to a point when I just want it to be DONE so I buckle down and make the final decisions with whatever materials I have and make up my mind to be happy with the results.
I had a lot of fun embellishing this one, as you can see! I found some lovely seashells, beads, and buttons in shades of purple, as well as yarn and metallic thread. The seahorse was a threadsketch I created at a workshop with Jane Davila way back in February (you can see it's beginnings here). I've been wanting to incorporate it into a larger piece since then, and now it's finally complete! What do you think?

Thursday, September 10, 2009

4x4 FiberArt Swap

Here, at last, are the swap pieces I've been working on all summer! The final number we had to make was 30, so I will not show you all of them, just my favorites. These first four are from the first batch of "paper cloth" I made, way back in May. Some of the materials I used for embellishing were copper wire figures (I had fun figuring out how to make fish and sailboats out of one long piece of wire) and stamped fish (I carved the stamps myself out of rubber erasers).

These are from the second batch of "paper cloth." The paper I used was a lighter shade, and after it dried (but before I quilted it) I stamped it with various acrylic paints (using stamps made from dried glue squiggles on cardboard and bubble wrap). The seahorse stamp was also carved into a rubber eraser and really makes a nice sharp image, especially using Stazon Inks on paper. The little shells were created out of polymer clay and were touched up with copper pearl ex powders. Some of the seaweed is made from copper pot scrubbers I got from the dollar store and cut up.
I used copper mesh and embossed copper sheeting on these last few pieces. I was able to get pretty good detail on the fish and seashells (below). The fish is also painted with alcohol inks to give it a little color.

I began struggling for new ideas at this point and almost abandonded this color scheme for more autumnal shades of orange, yellow, and red, but I persevered and found some new materials to work with. I used yellow produce netting to resemble sunlight passing through water in the piece on the right.
These are my final two pieces. I think they make a nice pair, side by side, and would look good framed in a spa or bathroom setting! But now they are off to their new owners!
As much as I hated to see them go, I was thrilled to see all the little treasures the other group members created! I will try to get them photographed and posted soon. I am considering stitching up a hanging piece with clear acrylic pockets to display them all in. I just need to find some wall space in the house to hang it on...

Thursday, August 7, 2008

Day 2...


I was all excited about finishing this latest seahorse quilt and adding it to my website, until I photographed it and put it on the computer! I thought it was going to be so vibrant and bold and I'm not sure it is having the effect I expected. I was so excited about the background fabric and so sure I wanted to make my whole book using it that I drove all the way back to JoAnn's fabrics for whatever was left on the bolt! I did have a lot of luck (and fun!) fabric shopping today, but now that I see the collage here, I'm not sure it's what I wanted it to be. If you haven't seen my other seahorses, visit my website for a comparison, www.cindysartquilts.com.