Pages

Showing posts with label thread sketching. Show all posts

Friday, March 4, 2011

A breakthrough for me?

Today is my first day off from work with no kids at home in a long time.
Of course, I have tons of things to get done like grocery shopping, cleaning, and baking, but I forced myself to sit down at my worktable and do one of my weekly 8x10 sketches. I actually started this a few days ago and haven't been able to make much progress on it. But I just finished it and now I think, maybe I'm onto something here. It combines three basic techniques: raw-edge applique (using fusible webbing), free-motion thread sketching, and ink painting. I think the combo is nice! It highlights the important elements of the picture and allows the background to stay in the background. It's also quicker to do than using all raw-edge, fused applique, and maybe more interesting because of the combination of techniques. I scanned it in before I added the ink painting (to the right) so I could compare it with only a black and white background, but I like the color. Any comments?

Sunday, January 2, 2011

Happy New Year!

Happy New Year, everyone! I hope you looked back over 2010 with some satisfaction and are beginning to think of goals and aspirations for the 2011. I know I am! And hence the new book in my home library: The Creativity Book: A years worth of inspiration and guidance by Eric Maisel, PhD. I started buying myself books on creativity about 5 years ago when I got The Artist's Way by Julia Cameron and put myself through her whole program. This book is divided into twelve sections, with 8 or so activities per section, so about 2 per week. They are not all your typical artist type of activities; some of them are "forgive yourself for all your failures," "forgive yourself, period," and "forgive others too." Should be interesting. I hope I can sustain it for the whole year.

Meanwhile, I finally had some time to sit down and play with some design possibilities for my sketchbook cover, which has been haunting me (only 2 more weeks!). I really had no idea, no preconceived vision of what I wanted it to look like, so I just went through my stash and pulled out things I like. I started with the plain natural fabric in the foreground and thought I would use that as the base fabric. Then I decided I wanted something with more color and pizzazz. I played around with some prints and batiks and then found my old favorite burlap ( I know, you're probably thinking "why does she like burlap so much?" I don't know - I think it's the texture and it reminds me of very simple times when farming and gardening and homemade clothes were the norm). I made the title (Fabrications) by couching perl cotton onto another fabric with metallic ribbon for the first letter. I stamped some other words and did a little seahorse thread sketch which I colored in with the Inktense pencils. It looked ok, but it seemed too stiff and predictable.


After a lot of trial and error and playing around, here is the final design I came up with. I ended up keeping my favorite robin's egg blue burlap as the base fabric. I decided I wanted it to show, but that it needed something. I stamped a large design onto it using a foam stamp and turquoise metallic acrylic paint. Then I free-motion stitched around the design with copper metallic thread and touched it up with copper acrylic paint, so it almost resembles embossed copper tiles with a patina. I created another seahorse separately on a piece of silk mounted on a piece of printed cotton, using variegated metallic thread. It took me a long time to decide how to add the words: I finally scrapped the previous couched and stamped words and just hand-wrote them with metallic fabric markers on sheer ribbons, then stitched the ribbons into place. It didn't photograph well, but the words say "Fabrications: Fiber art and poetry thru the year by Cindy Green." I'm happy with it, I think it will hold up well to many hands touching it, and I think it is represents me and my style pretty well. Now I just have to finish by stitching it to the original sketchbook cover.

Another step I made towards getting the sketchbook bound and mailed out was putting all the grommets into the fabric pages. A while back I had picked up this grommet kit from the local craft store (I think it sells for about $20 - bring your 40% off coupon!). The most surprising thing about it to me is that IT WORKS! It's actually worth the money! It comes with the main handle component and those interchangeable tips for either punching a hole or flattening the grommet. I think it's intended for paper crafts and scrapbooking, but it did a fantastic job going through the fabrics, some of which were several layers thick. I also used it this fall to put grommets in the tops of the bookmarks I made, to hold the tassel.


To insert a grommet, first I measured and marked where I wanted it to go. Then, using the black tip, I positioned the punch over the spot and pressed down with the heel of my hand. The handle compresses and then kind of jumps, like it's spring loaded.


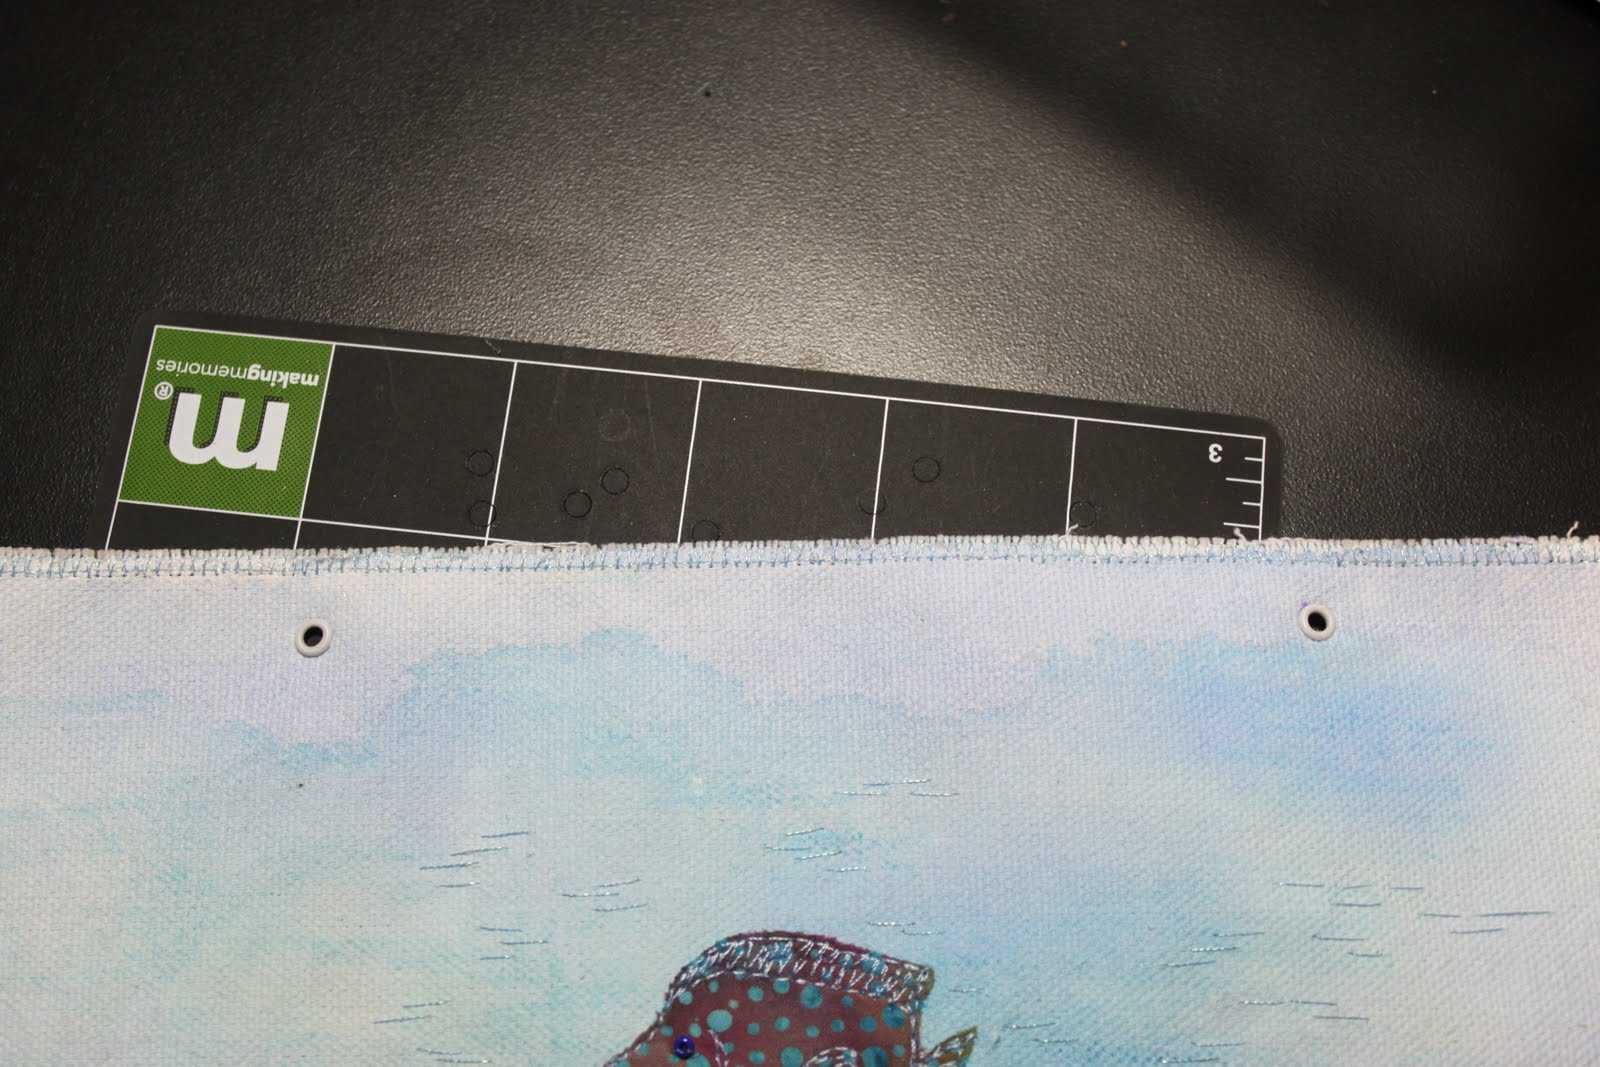
Here are two perfectly cut holes where the grommets will go.
Next, I changed to the other tip. I inserted the grommet into the hole from the front to the back, then turned the piece over. Press the end of the tip over the grommet and press down again with the heel of the hand. The spring-loaded action flattens out the back of the grommet, neat and clean!
Here are my two grommets, looking neat and professional! It's nice to have a tool that actually works and does what it claims to do! Now I just have to finish up the stitching on the cover, make one more sketch, and put it all together! Can't wait!

Wednesday, October 20, 2010

Caribbean Thread Sketch


I haven't started any new projects since I finished the conceptual art piece last week, so I thought I'd squeeze in a page for the sketchbook project. I had already gessoed, textured, and painted the background on this canvas and was trying to decide what to do next. I thought I would do a simple thread sketch, but I seem to have a hard time keeping things simple! I began with the central elkhorn coral, which I sketched all in one continuous line with variegated thread. Then I added the brain coral in the foreground and a piece of purple netting for the fan coral. I decided to tint the first two corals using inktense pencils. Because the entire coral is not filled in and the background color is still very visible, I think it helps make it look more realistically underwater; what do you think? Finally, I added in the fish: a school of small silver fish (we saw clouds of these swimming together on St. John), a yellow-tailed snapper, some small purple fish, and an eel. I also decided to stitch in a spiny urchin. I like the piece in general and it was good for practicing thread sketching and learning how to do effects like showing movement, making something look like it's underwater, and making lines radiating out from a central point. I do enjoy these underwater scenes, don't I?

Sunday, July 18, 2010

Another one finished!


Here is another piece that's been laying around on my worktable waiting for closure! Two of my biggest flaws are indecisiveness and perfectionism - not conducive to getting projects finished quickly! Usually, as in this case, I get to a point when I just want it to be DONE so I buckle down and make the final decisions with whatever materials I have and make up my mind to be happy with the results.
I had a lot of fun embellishing this one, as you can see! I found some lovely seashells, beads, and buttons in shades of purple, as well as yarn and metallic thread. The seahorse was a threadsketch I created at a workshop with Jane Davila way back in February (you can see it's beginnings here). I've been wanting to incorporate it into a larger piece since then, and now it's finally complete! What do you think?

Tuesday, February 16, 2010

Another fun workshop!


Once again, I had the opportunity to spend a day in the studio with Jane Davila learning how to make thread sketches! Here is a view of her studio set up with worktables spread with fun supplies, mainly inks to use after the thread sketching to create a watercolor effect.


Below is my work area and some of the little sketches in progress.


Here is a closer view of some my smaller pieces. Jane recommends going over your sketch twice, which gives your piece the look of a real sketch. I did that with the leaf and tree and really like the effect. Also, it gives you the chance to make little corrections. I was a little apprehensive about my abilities to sketch with free-motion stitching, but starting small and simple helped boost my confidence for bigger pieces.


My final piece of the day was this sketch of daffodils. Here are a detail shot and a shot of the whole piece. I started out wanting to fill up the fabric with just one clump of flowers (the center clump) but made them too small. So I added the clump in the foreground next, and then went around to add the more distant clump. I generally like the outcome; it does look like a watercolor painting, but my lines are a little shaky, like it was done by a child or I drew it with my non-dominant hand. Kind of charming, I guess. And not bad for a beginner. What fun! A new technique to practice! I even splurged and bought myself some inks and Jane's latest book, Surface Design Essentials.